Christmas Crafts
Christmas is one of the most magical times of the year. The illusion, the songs and the lights come together these days to celebrate one more year these beautiful dates. One of the elements that marks the arrival of Christmas is the decoration. When the streets, homes, gardens and shops are filled with lights and trees, it means that Christmas is near.
For this reason, today we bring you a series of Christmas crafts so that together, as a family or in the classrooms, you can begin to decorate your homes or classes and thus give it a Christmas touch.
Christmas Crafts
Christmas characters with cardboard
Santa Claus, the Three Wise Men, reindeer and snowmen are the stars of Christmas. Making these characters will be very simple if you use the cardboard cylinder of the toilet paper as a base, in this way, you will also be recycling material. For example, to make a Santa Claus you will need:
- A cardboard cylinder.
- Cotton.
- Red cardboard.
- Glue.
- Pair of scissors.
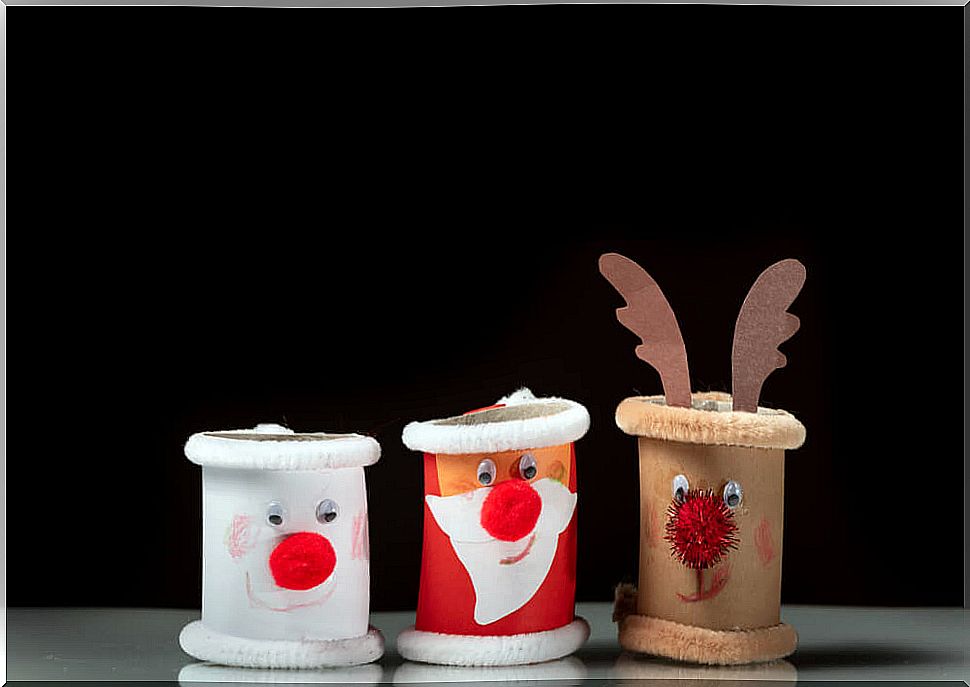
With the red cardboard, you will line the middle of the cylinder downwards, thus creating the clothes of Santa Claus. You must also use this card to create this character’s hat. To do this, you will only need to make a cone and put a small cotton ball in its beak.
The part of the cylinder from the middle upwards, that is, in the part that remains undecorated, cotton will be placed, recreating, in this way, the beard and white hair of Santa Claus. You should leave a space in the middle of the cylinder to draw his nose and eyes. And we will have our Santa Claus ready!
In the same way and depending on their characteristics you can create other types of characters. You will only need your own imagination.
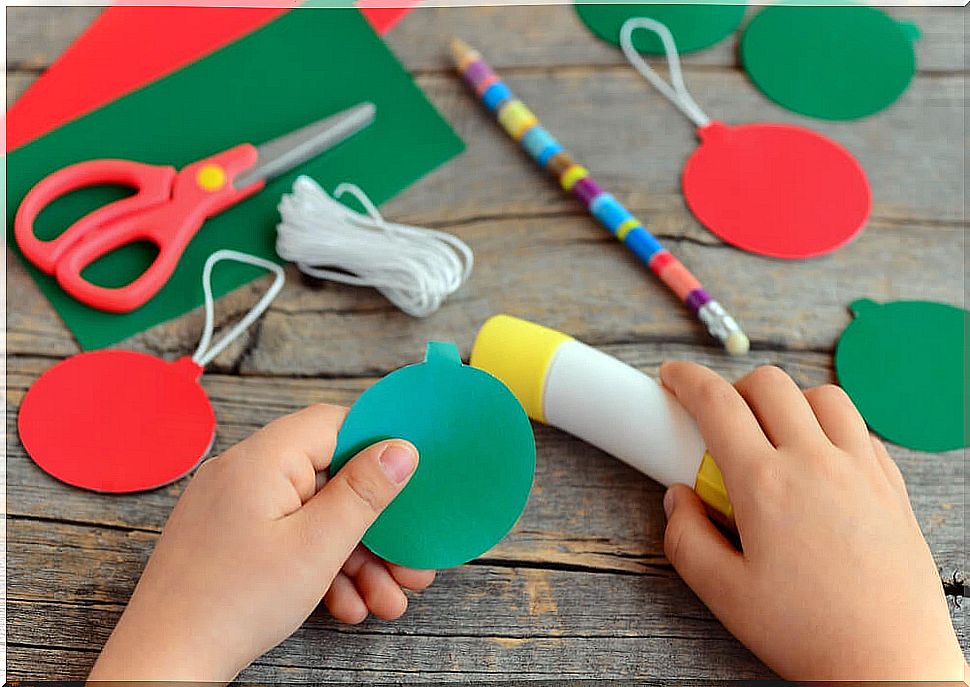
Christmas tree balls
As we said before, one of the most representative elements of Christmas are trees. These are placed in homes and on the streets filled with decorations of many colors and shapes.
Without a doubt, the most important complement to a Christmas tree are its balls. So the first of the Christmas crafts that we propose is the creation of a ball for the tree. For this you will need:
- Cardboard.
- EVA rubber.
- Pencil.
- Pair of scissors.
- Headband.
The first step will be to draw, or trace, the shape of the ball on the cardboard of your choice. Once the shape is cut out, the next step will be decoration. You can use EVA rubber or any other similar material that you have at home. For decoration you can make snowflakes, stars or gifts according to the shape that you like the most.
Finally, in the upper part of the ball, you must make a small hole to pass the ribbon and be able to hang, in this way, the Christmas ball on the tree.
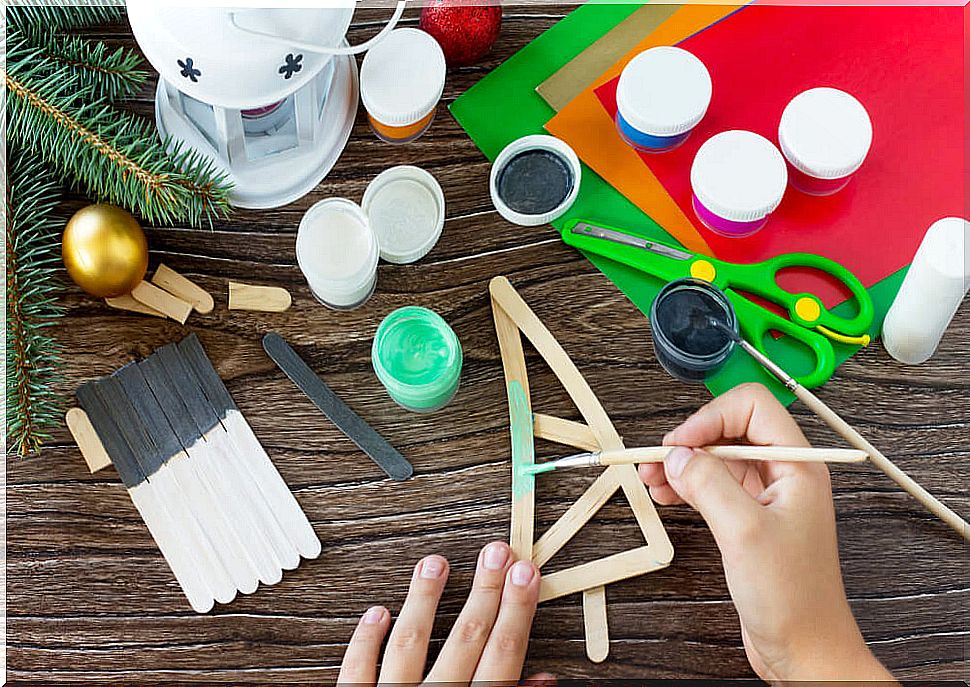
A Christmas tree
The vast majority of children love to help set up the Christmas decorations, especially the tree decorations. For that reason, they will love creating their own Christmas tree in a totally simple way. To do this, you will need the following materials:
- Three ice cream sticks.
- Colored buttons of the same size.
- A brown cardboard.
The first of the steps will be to paint the three ice cream sticks green. Once painted, you must glue them in the shape of a triangle, simulating the shape of the Christmas tree.
The colored buttons will be placed on top of the sticks, thus giving it a touch of joy. If you don’t have so many colored buttons, you can also use colored cards or sheets in which you create small circles.
Finally, every tree needs its base, so with the brown cardboard you must cut out a small rectangular fragment and glue it behind the ice cream stick that is placed horizontally.
A reindeer from Santa Claus, one of the best Christmas crafts
To create a Santa Claus reindeer you will need the following materials:
- A plastic plate.
- Brown cardboard.
- Brown acrylic paint.
- Two ice cream sticks.
- Two moving eyes.
- A red pompom.
The first of the steps will be to paint the plastic plate with the brown paint. You should paint it on the base part, that is, on the part that rests on the table and not on the part where the food is placed. Once painted, the next step will be to glue the eyes and the red pompom, which will act as the nose.
With the brown cardboard, you will have to create two small ears that we will place on the sides of the plate. Finally, the two ice cream sticks, also painted brown, will be placed above the ears, simulating their horns.