How To Make A Paper Kite?
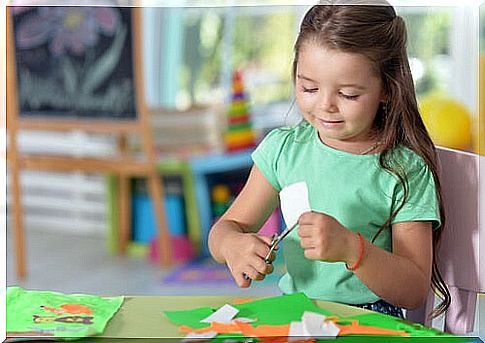
Paper kites are one of the favorite activities of elementary and middle school students. In fact, it is a craft that allows children to have fun and show their originality. Therefore, here we will show how to do one of the most common hobbies in school playgrounds.
It is certainly a paper creation that has entertained children for many years. It is an activity that children can do at an early age and that they will really enjoy. Even if they have trouble concentrating, the paper kite could be a very useful tool.
When the paper kite is ready to use, the fortune teller will point out colors, numbers, or pictures to another child. This will take you to one of the eight fins inside, each hidden and with a different message. Next, we will tell you what are the materials you need and how you can carry out this special craft.
What are the materials you need?

The materials you need to make a paper kite are:
- A sheet of A4 paper
- Markers of different colors
- A darker marker for writing
- A pen
- Pair of scissors
- Circular object to trace
How to make a paper kite?
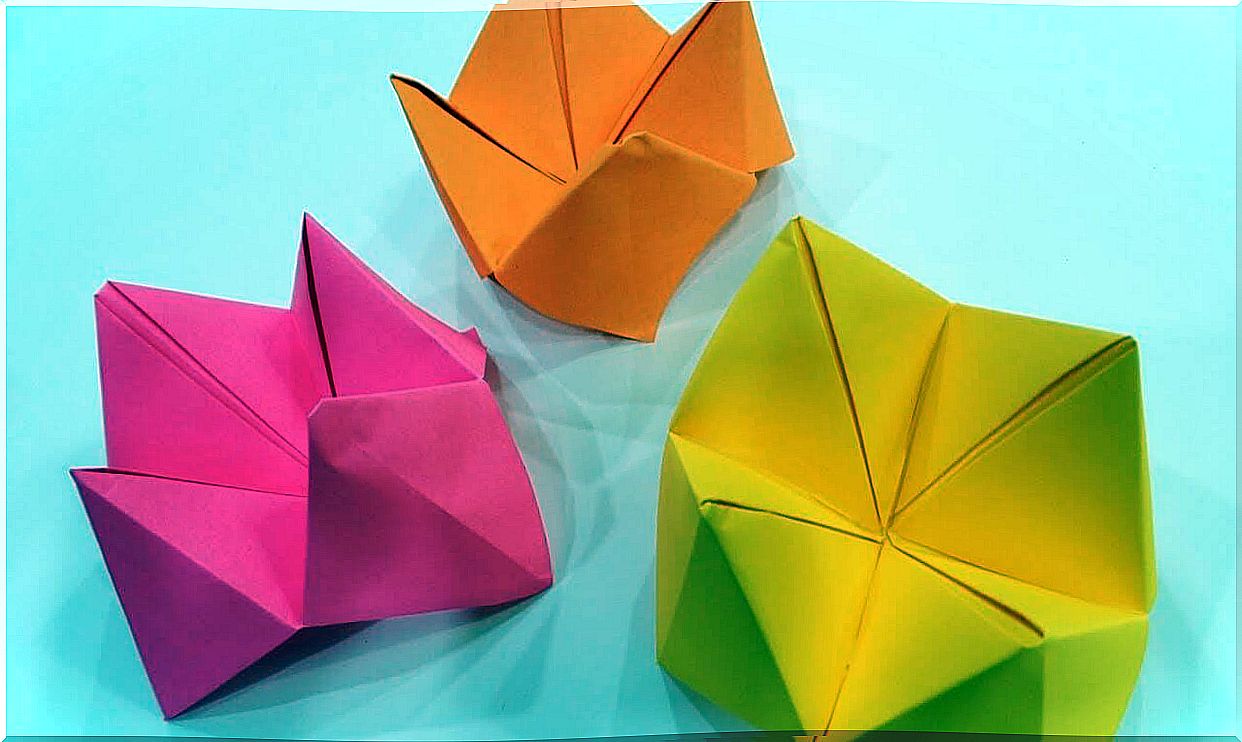
Making a paper kite is very simple. First, we recommend perfecting the folding technique on an A4 sheet, although paper of all sizes can be used. If you need all the instructions, we will tell you step by step how you can do it. Take note.
Step 1
Fold a square sheet of paper in half. Make sure to use a paper with some print on the front and a uniform background on the back or with 2 different colors.
Step 2
Fold the sides at the center crease.
Step 3
Fold the set lengthwise to mark the crease.
Step 4
Fold the new sides into this new crease.
Step 5
Take the opposite ends and fold them over to mark the crease. Then unfold to go back to step 2.
Step 6
You are back to step 2, but with new crease marks. Open the top of the fold and fold the top in the center into a trapezoid. Repeat the operation at the bottom, to obtain a star hexagon.
Step 7
Take the bottom half and fold the sides to make a diamond. Flip the fold over, then fold the lower left side over the upper right. Now you have in front of you what looks like a square. You should rotate it 90 degrees.
Step 8
Take the fold in your hands and press on the point of the future beak to turn it on itself.
What is its operation?
Have a player choose one of the top four squares. Spell out the color they chose as you open and close the paper kite once for each letter in the color they selected. The player selects one of the four numbers visible inside. Open up and down and side to side as you count the amount they chose.
When you’ve stopped counting, look inside and let the player choose again. Open and close the correct number of times. Then choose one more time. Open the panel below the number and read the fortune below the panel. Play over and over again.
Remember that there are all kinds of variations to this game . Just use a little imagination when making your paper kite. Instead of colors in the top squares, you can put almost anything: animals, weather, planets, people, and so on.
Numbers are placed on the outside of most flaps. The colors are located in the next layer of the fins. The questions are located inside the paper kite, under the inside flaps.
Finally, we recommend that you use a little imagination when making your paper kite. Remember that, instead of colors in the upper squares, you can put planets, people or animals. What are you waiting for to make a paper kite and enjoy with your little one?